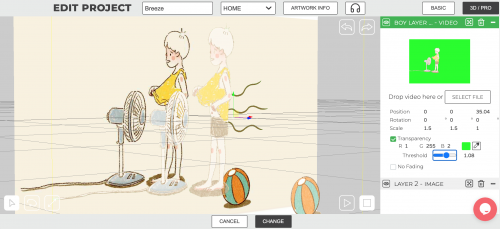
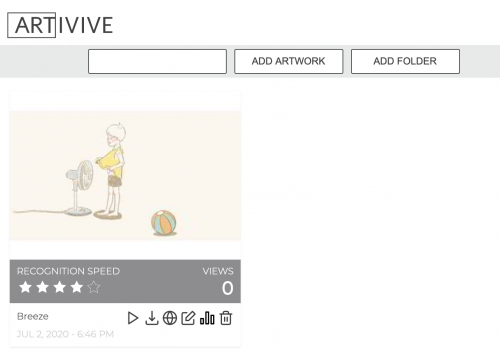
After having a chat with Chris yesterday, today my focus is to do an end to end experiment with the AR platform - Artivive, so as to make sure I can reproduce the workflow.
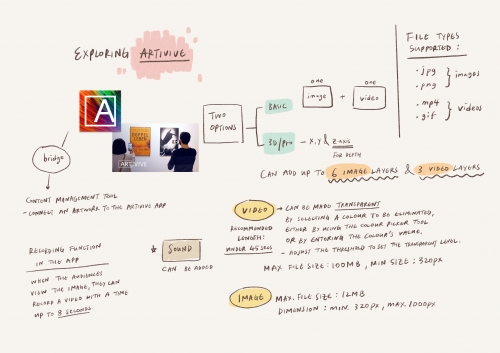
For the experiment, I just used the simple animation of a boy standing in front of the fan that I created yesterday. I gone through the requirement and tutorials of Artivive before I did some editing with the images and videos which would be assembled for the AR.
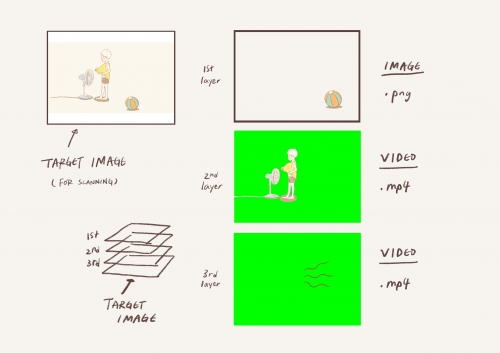
It took me some time to re-edit the images on Photoshop. This time I just used 1 png image and two videos for testing.
Outcome:
Problem:
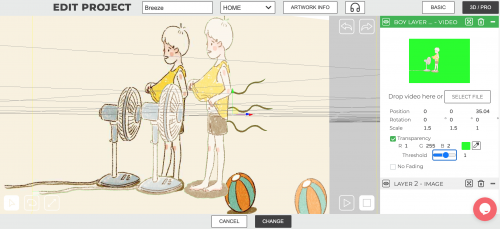
There were some green residues on the edge in the animation, since I used a green background and was eliminated by using the colour picker tool in the bridge tool. I tried to adjust the threshold to set the transparent level. However, the outline of the character disappeared when I set the threshold too high. So for now there is a green edge that I could get rid of. I guess it was because of the paint brush that I used. The pencil brush texture was not smooth enough for creating a good result when converting it into a video without a background.
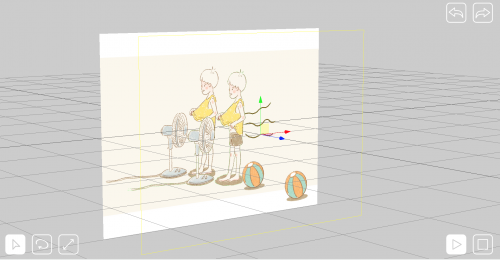
The AR testing on Artivive is quite nice. I think it would be better to present some graphics different from the target image. So when the audience view it, there will be no duplicated visual elements - to prevent some confusion and less busy in general. In my testing, the image of a boy standing in front of the fan looks like he is standing in front of a mirror since the graphics were the same. I will keep this in mind when I design the visual elements for my final design.
About This Work
By Hau Yin Leung (Rita)
Email Hau Yin Leung (Rita)
Published On: 02/07/2020
